-
Oops! there is no product in your cart.
Photoshop User Tips
How to setup your graphic design files for large format printed displays.
Resolution, Color Mode, Flattening, Convert to Shape, Saving Files
File Size: When you use our templates to create your document, please make sure the dimension of your file is the exact size of the finished size.
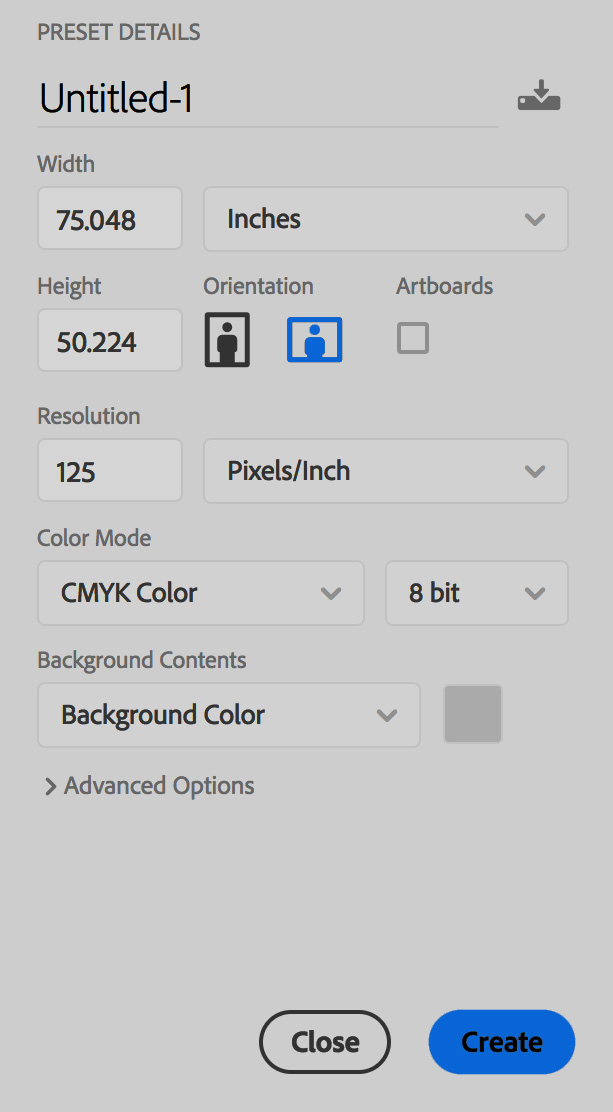
Image Size and Resolution: In Photoshop, when you setup your new document you will enter in the required dimensions and in the resolution section you will enter in at least the minimum of 125 DPI and maximum of 300 DPI. Then make sure the color mode is set to CMYK.
Determine Image Quality from Source
Good Quality:
High resolution / high quality stock photography
High resolution / high quality scanner
Low Quality:
Screen capture of video frame
Low resolution / low quality stock photography
Image lifted off a web-page
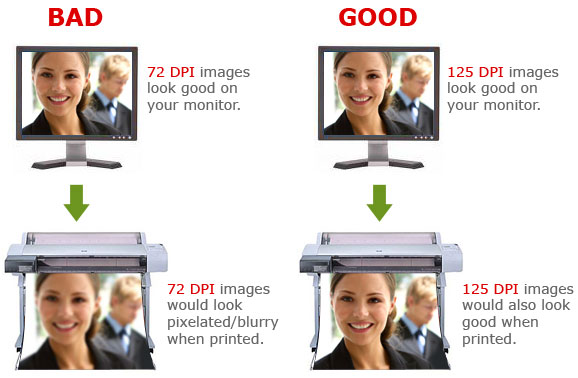
Why 125 DPI? Since your banner will be a large format print, If you want clean and crisp images please use a 300 DPI image with a minimum of 10" x 10" for scaling purposes.
- If you are uncertain of the quality of your images, please call us at 239-433-9738 or email us at [email protected]
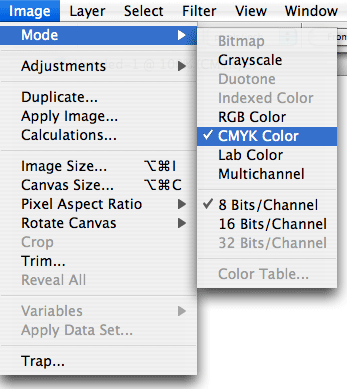
Color Mode: If you did not setup the file in the CMYK format when you initially created the new document. You can still convert it with a quick and easy process. Go to the image drop down menu go to mode and then select CMYK Mode.
Image > Mode > CMYK Color
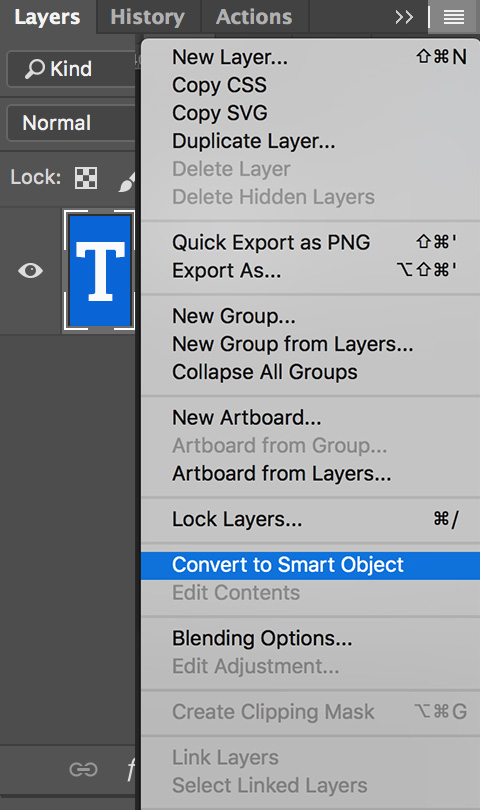
Convert Text to Shape: Once the layout is complete you will need to convert your text to smart shapes so we will not be missing any fonts on your piece. You will need to select your text layers and go to the drop down menu located on your layers palette and select convert to smart objects.
If you need our graphic designers to modify your art work, don't flatten layers, and supply any images that are being used in your document.
(Graphic modification is based on $85 per hour. Please call for estimated time.)
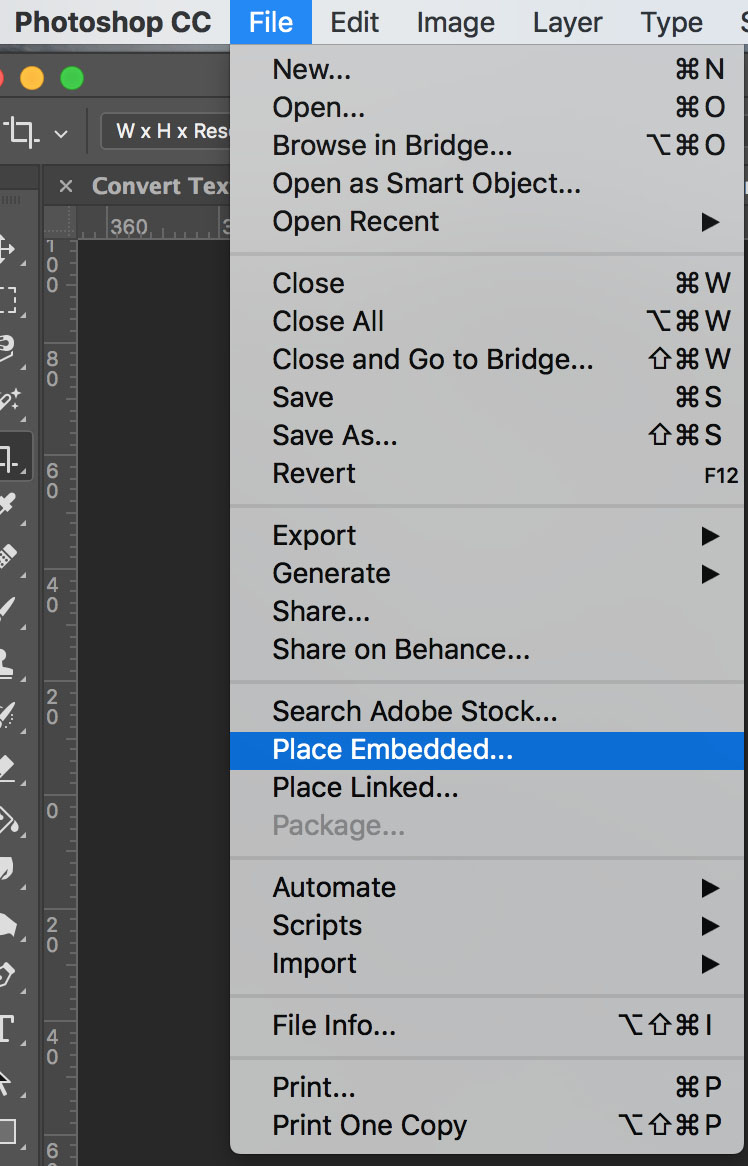
How to Place Embedded Image(s): When placing your image into your layout please make sure you are placing them in as an embedded image, and not as a linked file. That way the image will embedded right in the file to help the proofing process go quick and smooth. You will do this by going to the file drop down menu and select place embedded, and then select the image you want to place.
You are almost done!
- Before you upload the file(s) to us, view your graphic zoom into it at 100% so you can see how it will look on the final piece.
- Review the entire graphic carefully, especially your logo and photos if any, to make sure it looks good to you.
- If you are satisfied with what you see, please Upload Files with your order number and any specific instructions in the comments section on the upload.

